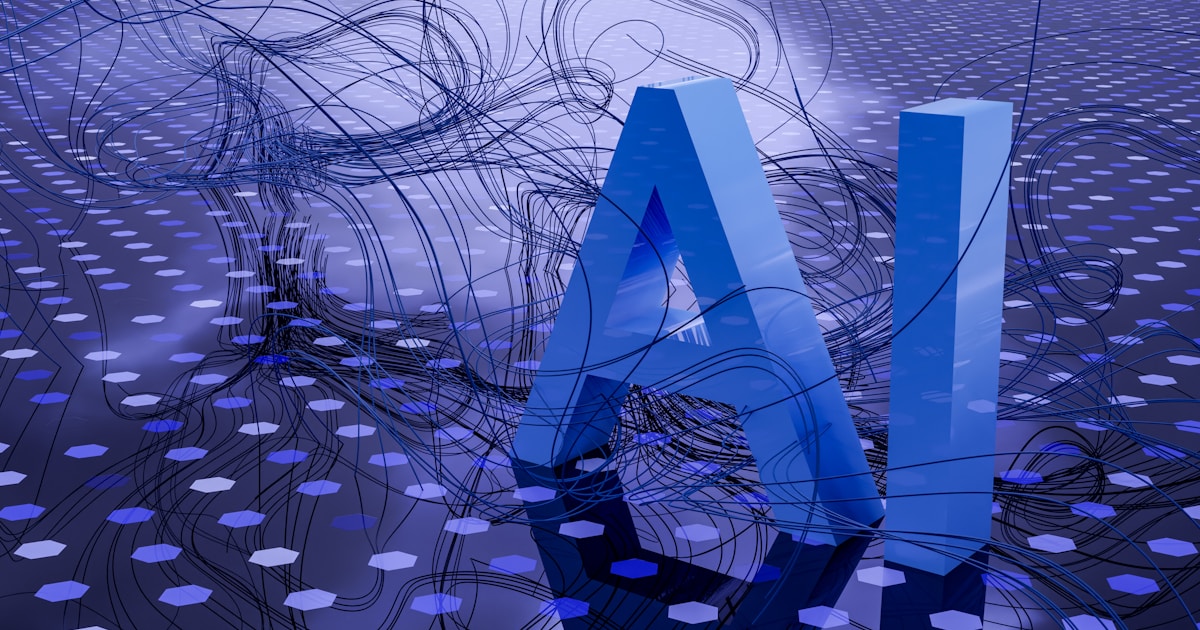
Stable Diffusion has changed AI image generation by making powerful, open-source technology accessible to anyone. Unlike proprietary services like DALL-E 3 and Midjourney, Stable Diffusion can run locally on your own hardware, offers unlimited generations, and provides unprecedented control through community-developed extensions and custom models. This comprehensive tutorial covers installation, model selection, prompt engineering, and advanced techniques that will take your AI-generated images from basic to exceptional.
Understanding Stable Diffusion and Its Ecosystem
Here's why.
Stable Diffusion is an open-source deep learning model developed by Stability AI in collaboration with academic researchers. Unlike closed-source image generators, Stable Diffusion's weights are publicly available, meaning anyone can download and run the model on their own computer, modify it, build upon it, and create derivative works. This open nature has spawned an enormous ecosystem of community-created models, extensions, and interfaces that collectively offer far more flexibility than any commercial alternative. The core technology behind Stable Diffusion is a latent diffusion model that gradually denoises random pixels into coherent images guided by text prompts. The model has gone through multiple major versions: SD 1.5 (the foundational version that still has the largest ecosystem of community fine-tunes), SD 2.1 (improved quality but smaller community adoption), SDXL (a significant leap in resolution and quality, now the standard for most users), and SD 3.5 / SD 4 (the latest versions with enhanced prompt adherence and photorealism). Each version has different strengths and requires different prompting approaches. The most popular interfaces for running Stable Diffusion include Automatic1111's WebUI (the most feature-rich and user-friendly option with a vast extension ecosystem), ComfyUI (a node-based workflow system preferred by power users for its flexibility and efficiency), and InvokeAI (a polished interface with a strong focus on professional creative workflows). For those without powerful GPUs, cloud services like RunPod, Replicate, and various online Stable Diffusion providers offer access to the latest models through pay-per-use pricing.

Installing and Setting Up Stable Diffusion
Setting up Stable Diffusion locally requires some technical steps, but the process has become significantly easier with modern installers and distributions. The minimum hardware requirements include a GPU with at least 6GB of VRAM (8GB or more recommended) for SDXL, and 4GB for SD 1.5 models. NVIDIA GPUs are best supported, though AMD GPUs and Apple Silicon Macs also work with some configuration. The easiest way to get started on Windows is to use the Stability Matrix or NMKD Stable Diffusion GUI -- one-click installers that handle all the dependencies automatically. For the classic Automatic1111 WebUI experience on Windows, download the "sd.webui.zip" one-click installer from the official repository. On macOS, use the Automatic1111 WebUI for Apple Silicon build, which has been optimized for Metal performance. Linux users can follow the manual installation instructions from the Automatic1111 repository, using Python and PyTorch. Once installed, the WebUI opens in your browser at http://localhost:7860. The interface includes the text-to-image tab (your primary generation workspace), the image-to-image tab (for modifying existing images), and various extension tabs. Key settings you should configure include the model checkpoint selection (choose which Stable Diffusion version to use), the VAE selection (for improved color accuracy), and your generation defaults (resolution, batch count, and seed handling). Most advanced settings are best left at defaults initially -- you can explore them as your skills grow. For users who want to use Stable Diffusion without local installation, online services like DreamStudio (by Stability AI), Leonardo.ai, and Clipdrop offer user-friendly interfaces that run on cloud servers, with free credits or subscription pricing.
Sound familiar?
Master Prompt Engineering for Stable Diffusion
Prompt engineering for Stable Diffusion differs significantly from DALL-E 3 or Midjourney because of how the open-source model interprets input. Stable Diffusion prompts are typically structured with a weighted keyword format rather than natural language sentences. A basic prompt includes the subject ("a beautiful warrior woman"), style ("digital art, trending on ArtStation"), environment ("in a mystical forest with glowing mushrooms"), and technical quality markers ("highly detailed, sharp focus, 8K, cinematic lighting"). Prompt weighting is a critical technique -- you can emphasize important elements by increasing their weight using syntax like "(intricate golden armor:1.3)" or "(((masterpiece)))" (each set of parentheses increases weight by 10%). Conversely, you can reduce weight with square brackets: "[background details:0.7]". The Automatic1111 WebUI also includes a built-in prompt weighting helper and the ability to use attention modifiers. Negative prompts are even more important in Stable Diffusion than in other generators. A good negative prompt prevents common artifacts and guides the model away from undesired elements. Common negative prompt elements include "nsfw, lowres, bad anatomy, bad hands, text, error, missing fingers, extra digit, fewer digits, cropped, worst quality, low quality, normal quality, jpeg artifacts, signature, watermark, username, blurry." Many experienced users maintain a library of negative prompts for different types of generation. The quality of your output depends heavily on finding the right combination of positive prompt, negative prompt, sampler, CFG scale, and seed. Samplers like DPM++ 2M Karras, Euler a, and DDIM produce different stylistic results -- Euler a is versatile for most work, while DPM++ variants excel at high-detail generation. The CFG scale (default 7) controls how closely the model follows your prompt -- higher values increase prompt adherence but can reduce image quality and diversity.
Working with Models, LoRAs, and Embeddings
The most powerful aspect of Stable Diffusion is the ability to customize the model itself. The base models (SD 1.5, SDXL, etc.) are only the starting point -- thousands of fine-tuned models created by the community offer specialized styles, improved anatomy, better photorealism, or specific aesthetics. Popular models for different use cases include Realistic Vision and CyberRealistic for photorealistic images, DreamShaper and RevAnimated for artistic/stylized results, GhostMix and Counterfeit for anime-style generation, and PixelArt Diffusion for pixel art creations. To use a custom model, download its checkpoint file (.ckpt or .safetensors) and place it in the models/Stable-diffusion folder of your WebUI installation, then select it from the dropdown menu and reload. LoRAs (Low-Rank Adaptations) are small, lightweight model extensions that tweak specific aspects of image generation without replacing the entire checkpoint. A LoRA can add a specific character, art style, object type, or concept. For example, you can use a "Cyberpunk City LoRA" to add cyberpunk aesthetics to any base model, or a "Specific Character LoRA" trained on a particular person or fictional character. To use a LoRA, place the file in the models/Lora folder and add the trigger tag to your prompt, usually in the format "lora:filename:weight" where weight controls how strongly the LoRA influences the output. Embeddings are similar to LoRAs but even smaller -- they encode concepts into the token space and can be used in negative prompts to ban specific elements (like the popular "bad-hands-5" embedding that improves hand generation). Textual Inversion embeddings are loaded by placing them in the embeddings folder and triggering them through the prompt with their filename. Learning to combine models, LoRAs, and embeddings effectively is what separates basic users from advanced Stable Diffusion artists.
But how do you actually use this?
Advanced Techniques: ControlNet, Inpainting, and Upscaling
Once you've mastered basic generation, Stable Diffusion's advanced tools unlock professional-grade control over your images. ControlNet is arguably the most important extension, allowing you to guide image generation using reference images like edge maps, depth maps, pose skeletons, and segmentation maps. With OpenPose ControlNet, you can provide a reference pose image and Stable Diffusion will generate characters matching that exact pose. With Canny Edge ControlNet, you can provide a line drawing and have the model colorize and detail it while preserving the original edges. Depth ControlNet uses depth maps to maintain consistent spatial relationships between objects, which is invaluable for creating scenes with multiple elements. Inpainting allows you to select a specific area of an existing image and regenerate only that region with a new prompt. This is perfect for fixing hands, changing objects, removing unwanted elements, or extending image boundaries. The inpainting model (a specialized version of Stable Diffusion) produces dramatically better results than generic models for this task. For outpainting, you can extend images beyond their original boundaries, generating new content that seamlessly blends with the existing image. Upscaling is essential for producing print-quality images from Stable Diffusion's native resolutions. The WebUI includes several upscalers: ESRGAN variants excel at general upscaling, SwinIR and Swin2SR produce sharper results for detailed images, and the "Hires fix" option generates images at a low resolution first, then upscales them with additional detail. For best results, use the "Extras" tab to upscale finished images with a 4x upscaler followed by slight sharpening. The tile upscaling method allows you to upscale even large images by processing them in overlapping tiles, preventing VRAM limitations from restricting your output resolution.
But is that the whole story?
Practical Workflows and Real-World Applications
With its flexibility and customizability, Stable Diffusion serves many professional and creative applications. For game development, artists use Stable Diffusion to generate concept art, sprite sheets, texture maps, and background environments, often combining ControlNet with custom LoRAs trained on their game's art style. For product photography and e-commerce, businesses generate product images in diverse settings using image-to-image workflows -- take a photo of a physical product and use Stable Diffusion to place it in different environments, on different backgrounds, or in the hands of models. This eliminates expensive photoshoots while producing consistent, professional results. For concept artists and illustrators, Stable Diffusion serves as an ideation engine that can generate dozens of compositional variations in minutes, which can then be refined, combined, and completed using traditional digital art tools. Many professional artists use a workflow that involves generating multiple initial concepts in Stable Diffusion, selecting the best ones, refining them through img2img iterations and inpainting, upscaling the final selection, and then making manual touch-ups in Photoshop or Procreate. For print-on-demand and merchandise, creators generate unique designs for t-shirts, posters, mugs, and phone cases, leveraging custom models to maintain a distinctive style. For architectural visualization, ControlNet's segmentation and depth maps enable designers to quickly generate realistic building renderings from basic floor plans or massing models. The key to professional use is developing a consistent, repeatable workflow -- save your seed values, prompt structures, and model configurations for each project so you can reproduce and iterate on successful results. Build a library of reliable negative prompts, tested LoRAs, and go-to model checkpoints that align with your creative style.
So, Should You Try It?
- Stable Diffusion is an open-source image generation model that runs locally, offering unlimited generation, full control, and a vast ecosystem of community extensions and custom models. — your experience may differ, but this worked for me
- The most popular interfaces are Automatic1111 WebUI (feature-rich), ComfyUI (node-based for advanced users), and cloud services like DreamStudio for those without powerful GPUs. (this one actually surprised me)
- Effective prompting uses weighted keywords, prompt emphasis techniques, and robust negative prompts to prevent common artifacts like distorted anatomy. — game changer in my workflow
- Custom models (checkpoints), LoRAs (lightweight adaptations), and embeddings enable specialized styles, characters, and concepts beyond the base model capabilities.
- ControlNet provides precise control through reference images (pose, depth, edges), while inpainting and advanced upscaling enable professional-grade image refinement. — took me a while to figure this out
- Real-world applications span game development, product photography, concept art, merchandise design, and architectural visualization.
Explore our DALL-E 3 Image Generation Tutorial and Midjourney Beginners Guide to compare Stable Diffusion with other leading AI image generation platforms.
So where does that leave us?